

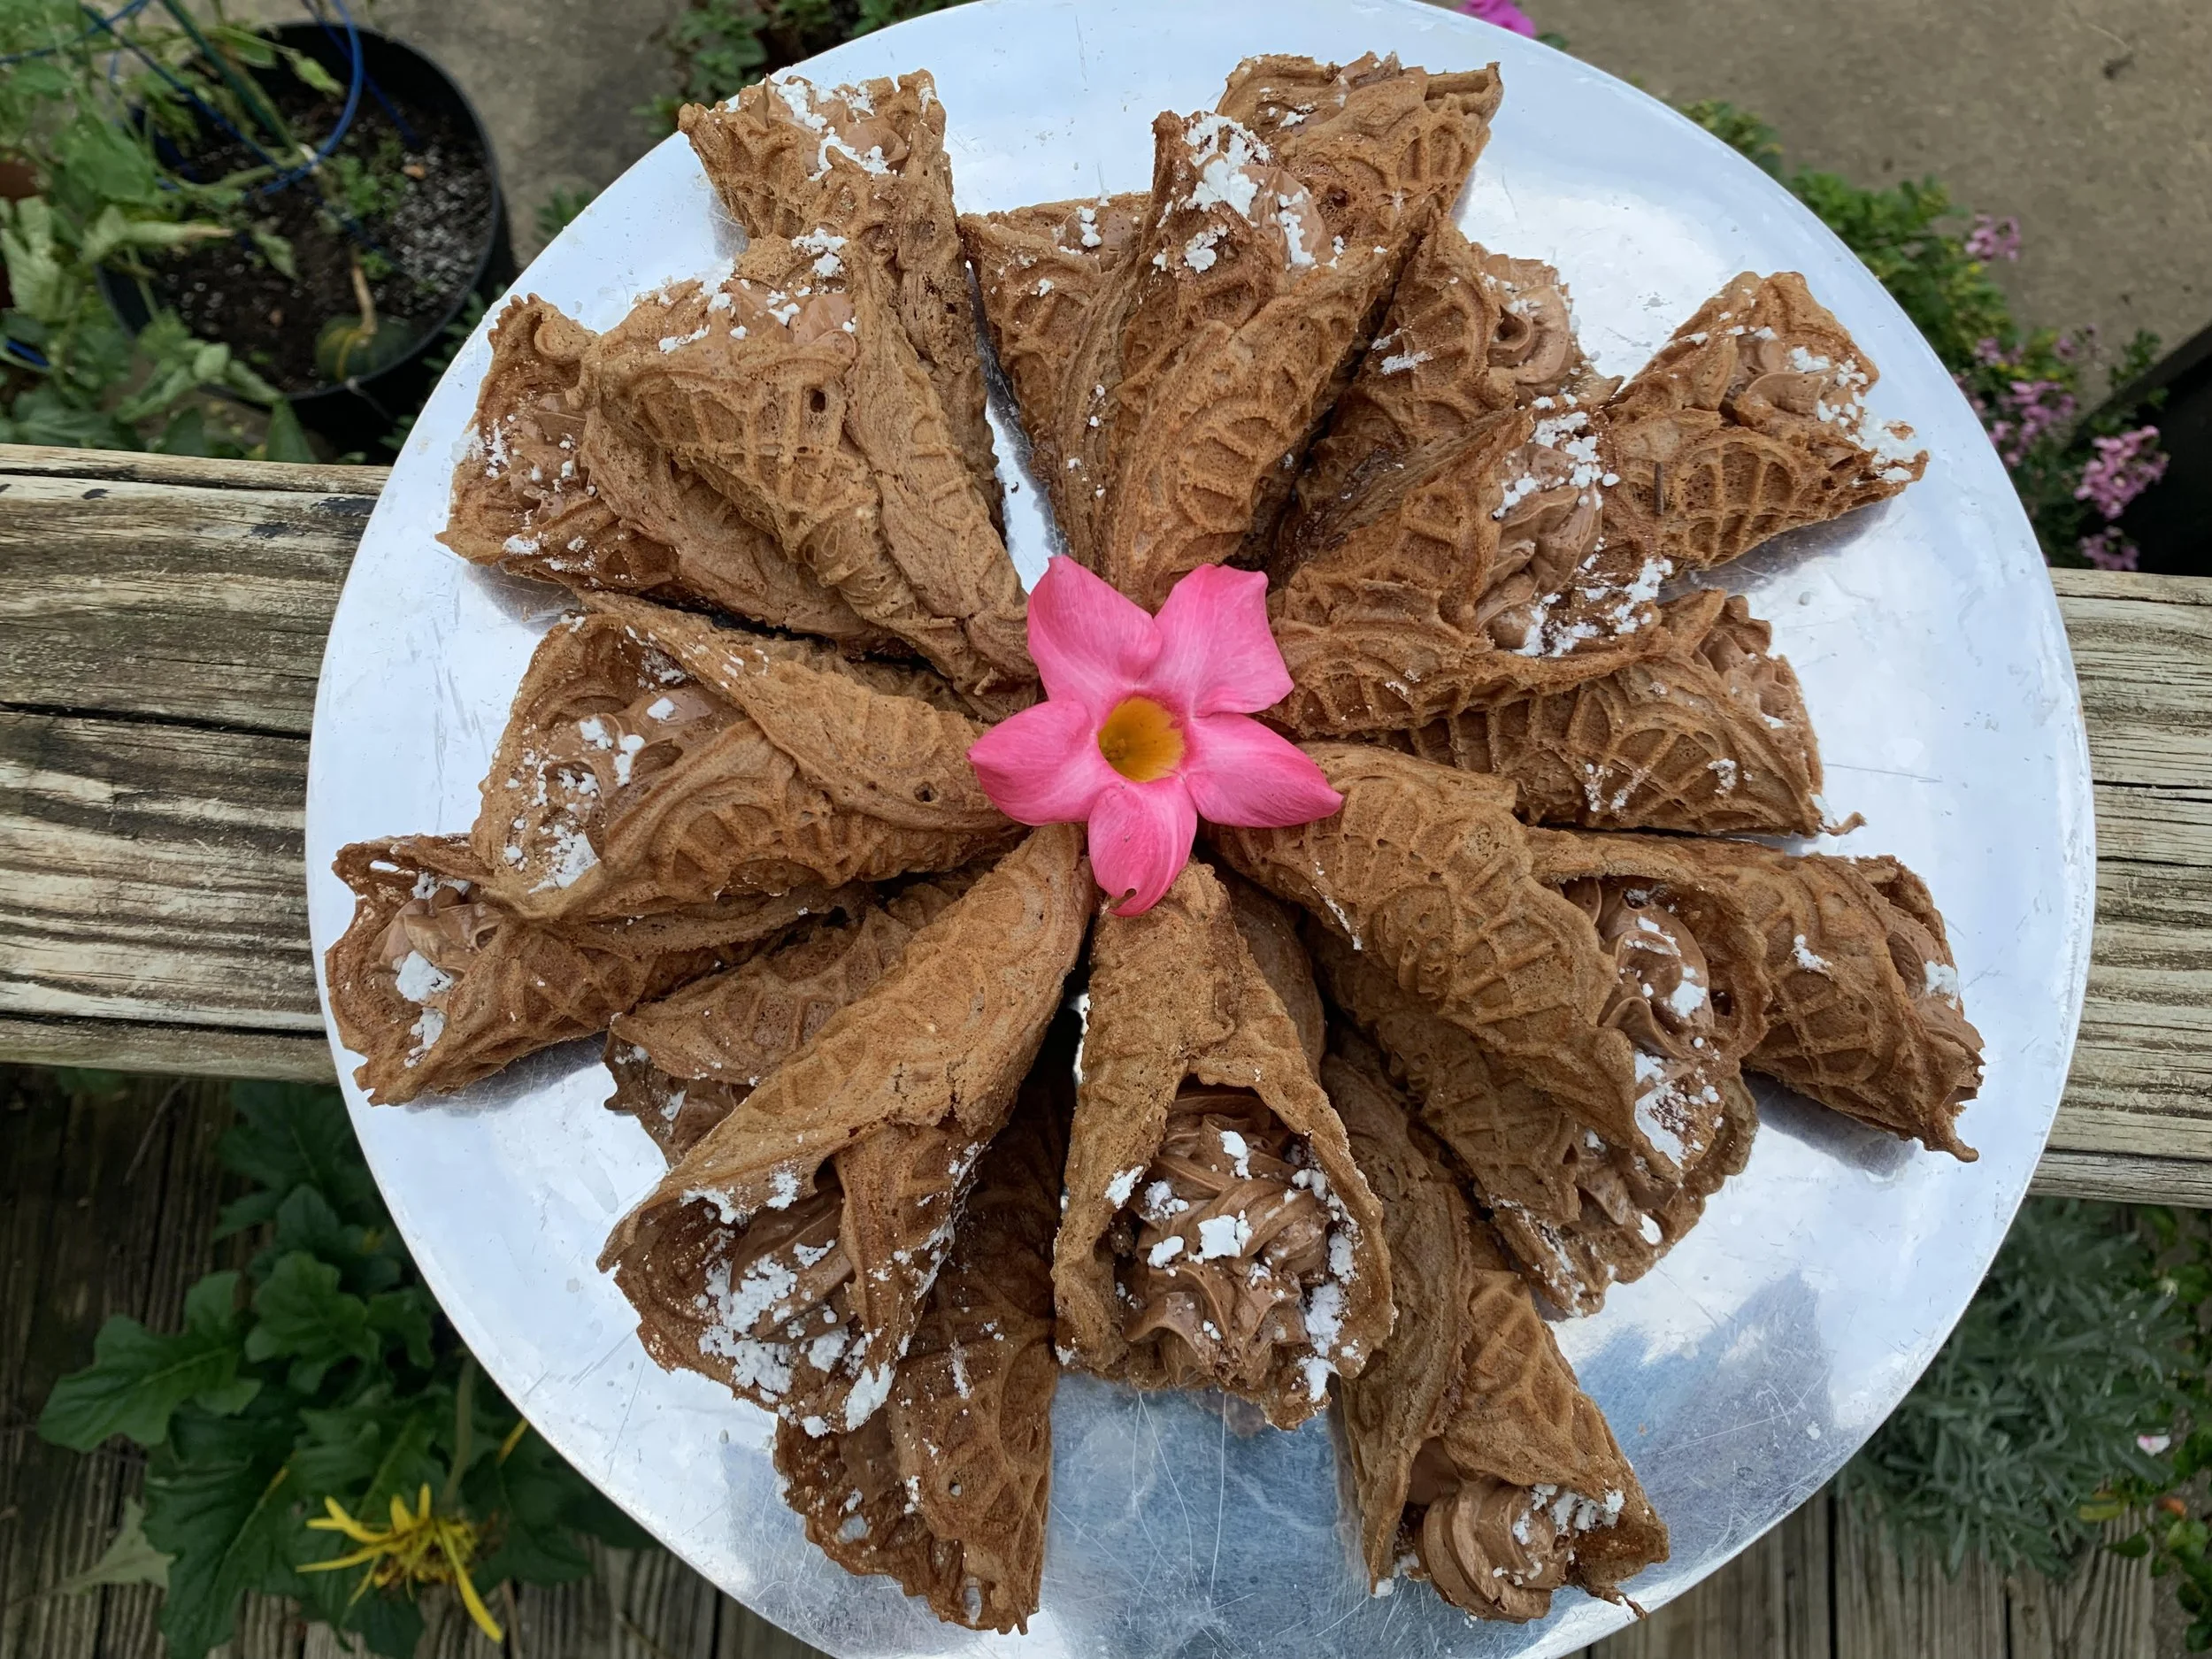
Chocolate Mousse Cones

The most indulgently delicious, “eye-rolling” chocolate experience you’ll ever encounter!
“Oh my goodness” was what I must have uttered with a mouthful of this chocolate mousse cone and perhaps a glob or two spilling out. The scene of the encounter was the town of Somerville, just outside of Boston, the store, a small candy shop in a just slightly larger cluster of shops, the hostess, my daughter who had tried this Chocolate Mousse Cone previously.
An innate chocoholic, I was sure I’d never had a more intense relationship with chocolate before, and then determined that I had to have it again. Two or three more encounters in Somerville ensued, and then my daughter moved! That could not be the end and so I began a culinary quest to create something akin to the original.
Many trials later with various mousse recipes, all of them delicious, but some too soft, some to stiff, some not chocolatey enough, to find the perfect taste that also created the look of a scoop of chocolate ice cream. Box checked! And then the cones - a rolled thin chocolate cookie (too hard), on to a thin chocolate waffle (too soft) and finally a thin batter baked in a Pizzle iron, shaped around a wooden cone shaped dowels (just right) resulted in at least very similar Chocolate Mousse Cones. (Not that I’ve been back to Somerville to compare).
“Oh my goodness” with chocolate abounding amongst the syllables, was uttered once again. Now, if you never plan a trip to Somerville, home of Marshmallow Fluff and if I never have the occasion, at least I have this. And you can have it too!
Chocolate Mousse Cones:
Chocolate Mousse
½ cup butter, softened 3 egg yolks 3 egg whites ½ cup sugar 9 ounces semisweet chocolate 1 ounce unsweetened baking chocolate 2/3 cup heavy cream 2 tsp. vanilla extract pinch of salt
-Melt chocolate in a saucepan. Stir in butter until melted. Beat chocolate mixture and egg yolks in small bowl on high speed for 5 minutes. Refrigerate, covered for 10 minutes. Beat 3 egg whites until soft peaks form. Beat in ½ cup sugar, 1 tablespoon at a time until stiff and glossy. Fold egg white mixture into chocolate mixture. Allow mixture to set for 15 minutes in the refrigerator. Whip cream and add vanilla. Stir gently into chocolate mixture until just a few streaks of white cream remain. Chill until set. Makes enough mousse for 6 - 8 cones.
Chocolate Waffle Cones
3 eggs
3/4 cup sugar
1/2 cup (1 stick) real butter, melted
1 cup flour
1/4 cup unsweetened cocoa powder
1 teaspoon baking powder
1 tablespoon vanilla
1 tablespoon milk
-Preheat waffle cone or Pizelle cookie press. Spray with non-stick cooking spray. Beat eggs and sugar in an electric mixer, until creamy, about 1 minute. Add melted butter and mix to combine. Add in flour, cocoa powder, and baking powder, and use the whisk attachment to lightly blend mixture together until smooth. Add vanilla and milk and mix until combined.
-Use 2-3 tablespoons of cone batter (depending on the size of your waffle press), placing it in the center of your iron and cook until done, about 2 minutes or until cookie is just set. They should not be brown around the edges.
-Immediately remove cone from press with tongs and curl tightly around mold if you have one or roll them free-hand by beginning at one point and rolling into a cone shape. Place on a cookie sheet covered with parchment paper and support each cone with wooden spoons or rolling pin, so they don’t roll. Allow to cool completely. Yields 15 - 20 cones, depending on the size of your press.
To Assemble:
-If chocolate mousse has been refrigerated for more than 30 minutes, allow it to sit at room temperature for about an hour to soften slightly. Spoon mousse into a pastry bag fitted with a wide round or star tip and pipe mousse into the bottom of each cone up to the edges. Then with an ice cream scoop, scoop about 1/2 cup of mousse and put on top of cone, pressing lightly, to look like chocolate ice cream. Chill until set, about 1 hour.

Make the chocolate mousse mixture and chill until needed.
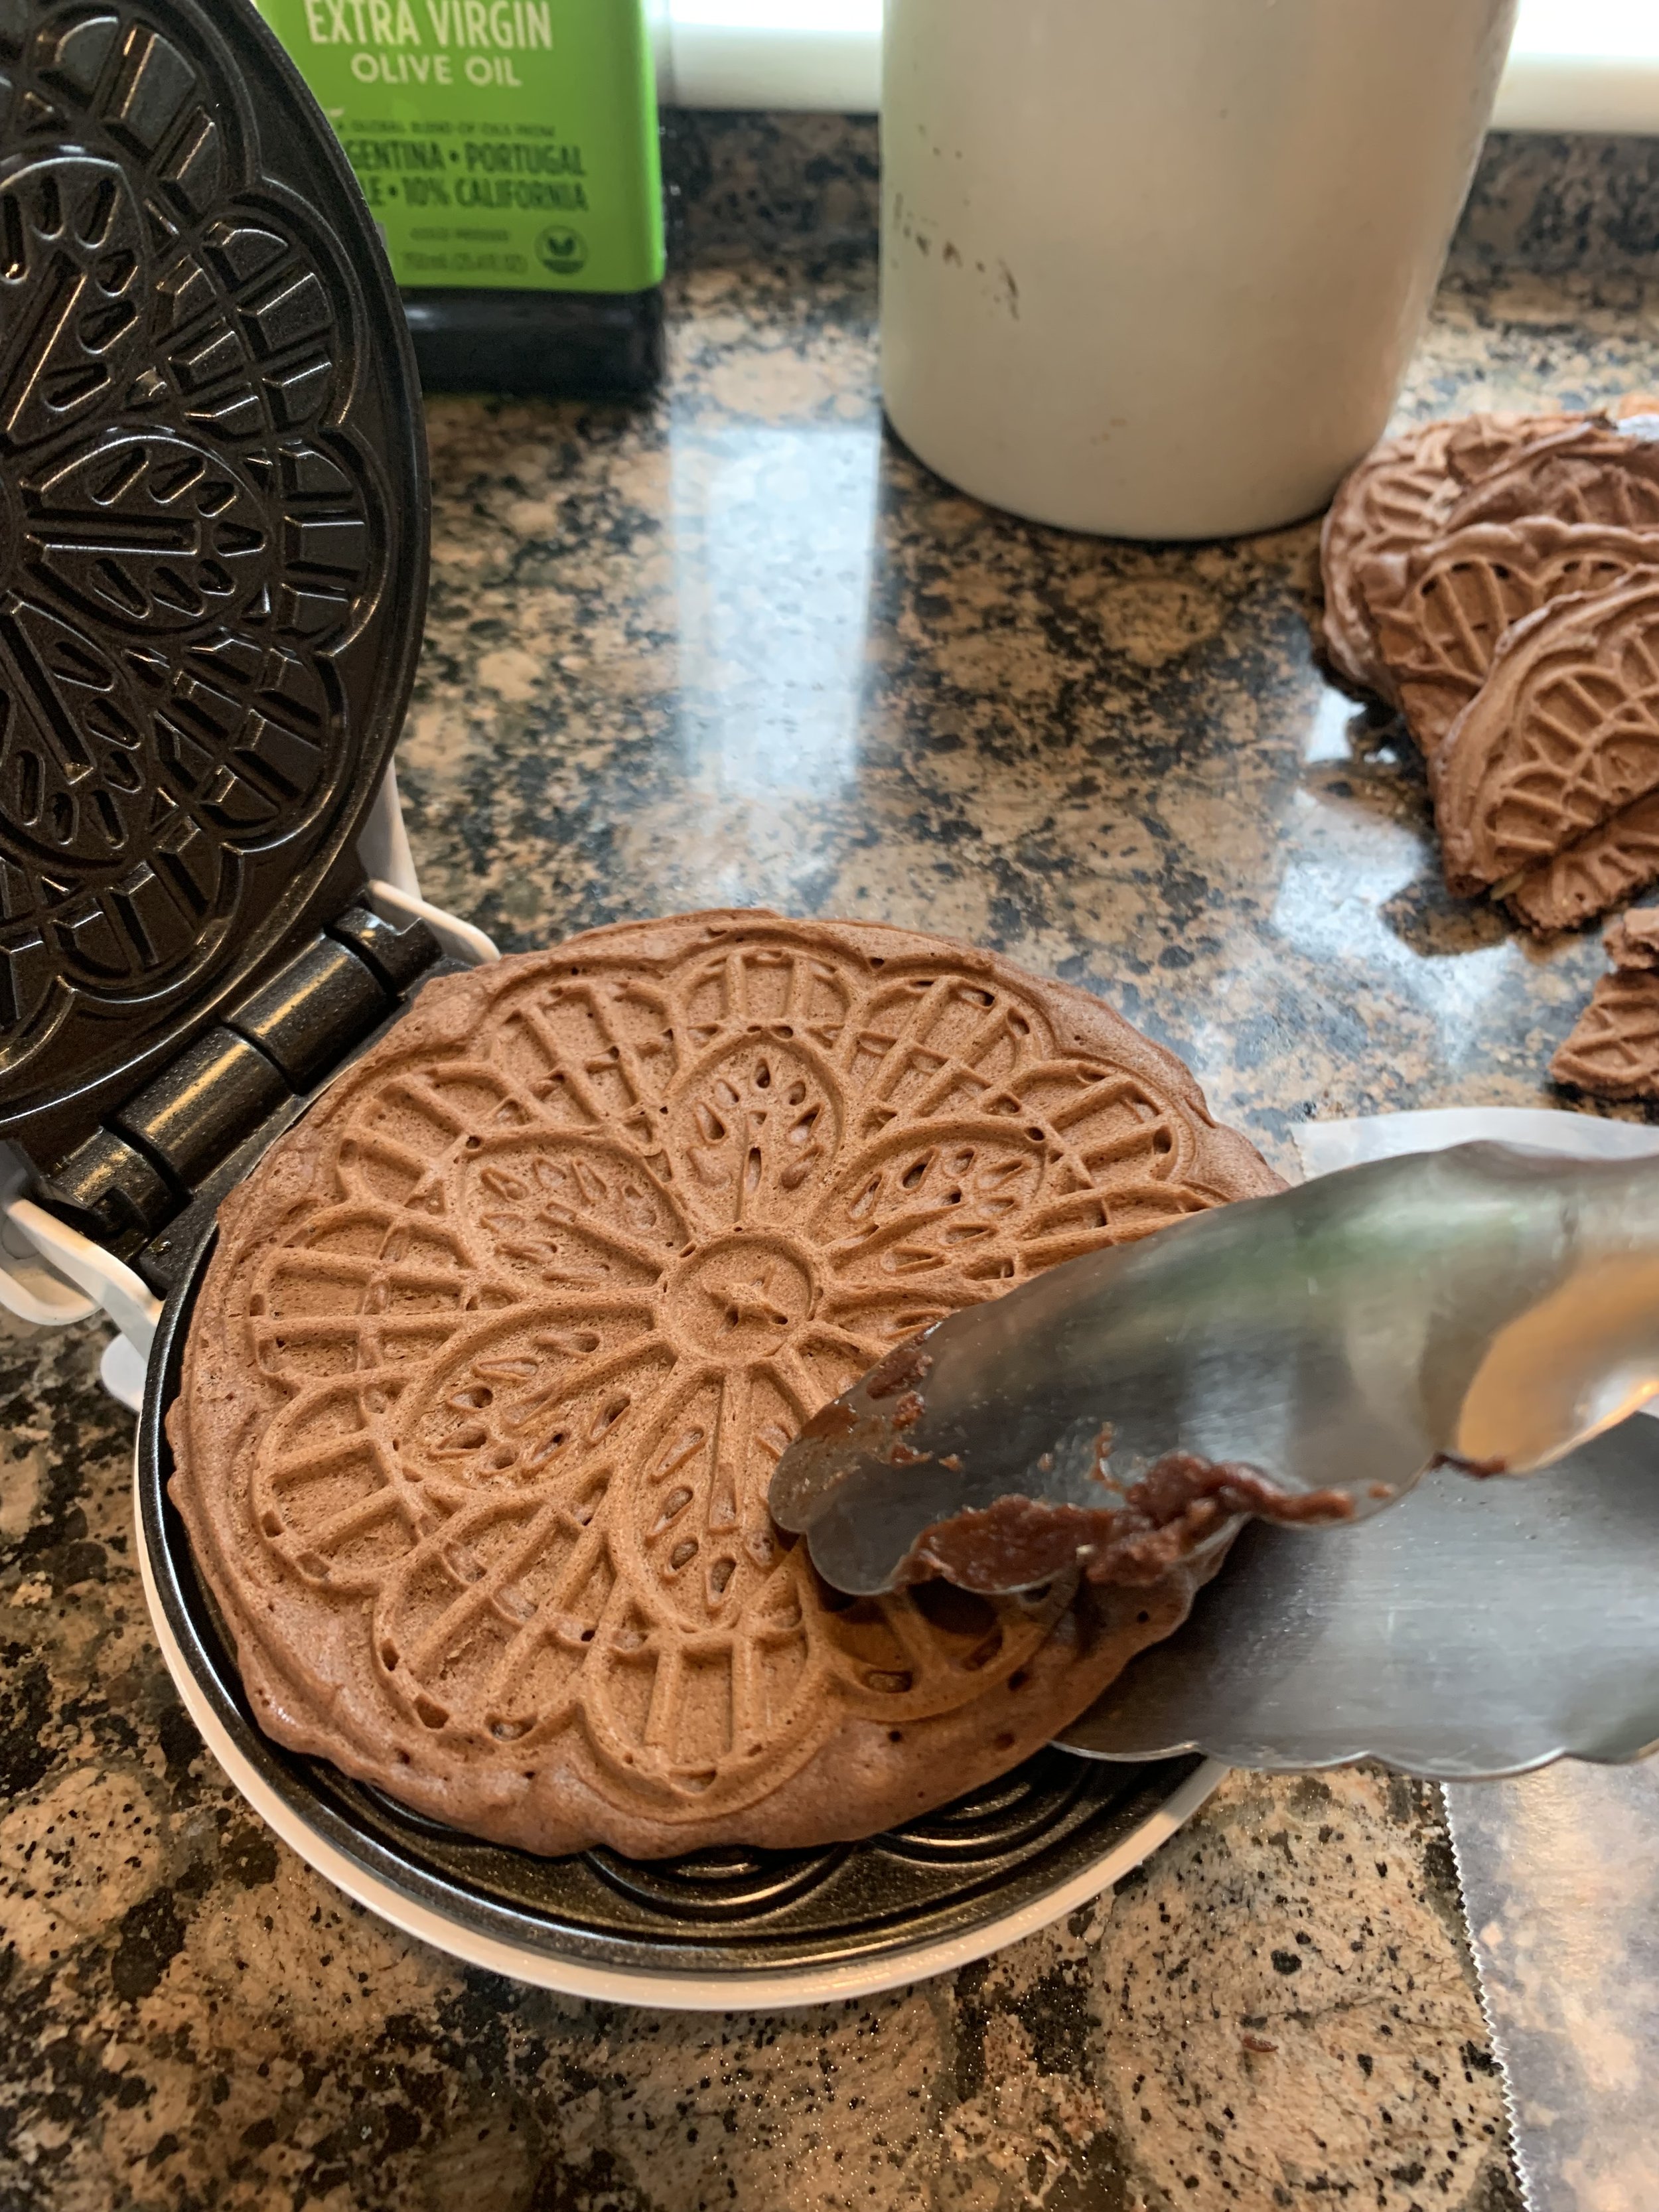
Place 1 - 2 tablespoons of cone batter into griddle and cook just until set, then remove with tongs.

Immediately, starting at one end, roll the hot cookie into a cone shape, by hand or, easier, aournd a cone mold.

Make sure the pointed ends overlap slightly.

Place chocolate cones seamside down on parchment paper and secure with wooden spoons or rolling pin.

Let cone cookies cool completely.

Up close and personal with this luscious chocolate creation!
Use the same recipe to create Chocolate Mousse Cornets with more cookies and less mousse - a more modest version.

Fill each cone with mousse just to the top edge of the cones and garnish with powdered sugar.

Don’t let the look fool you - it’s even better than chocolate ice cream!

An irresistible treat for chocolate lovers - with a lovely variety in textures: crunchy and silky!
PERSNICKETY NOTES:
*Mousse cones are best served the same day prepared as the cones soften soon after filling with the mousse, particularly in a humid climate. Mousse can be prepared a day or two ahead and kept in the fridge covered. Remember to let mousse soften slightly before trying to pipe it.
*Garnish tops of mousse with grated dark chocolate if desired or sprinkle with powdered sugar.
*To make Cornets, follow the recipe above but simply fill the cones with mousse almost to the top of the cone, (omitting the scoop of mousse on the top) and sprinkle with powdered sugar.
*To purchase an inexpenseive ice cream cone mold, try this one:
https://www.amazon.com/OCreme-Pizzelle-Roller-Krumkake-Beechwood/dp/B074CGSTBL/ref=sr_1_1_sspa?crid=2OS5W4OG1N3T5&keywords=ice+cream+cone+mold&qid=1697320342&sprefix=ice+cream+cone+mold%2Caps%2C90&sr=8-1-spons&sp_csd=d2lkZ2V0TmFtZT1zcF9hdGY&psc=1