

Tiropitakia - Filo Cheese Triangles
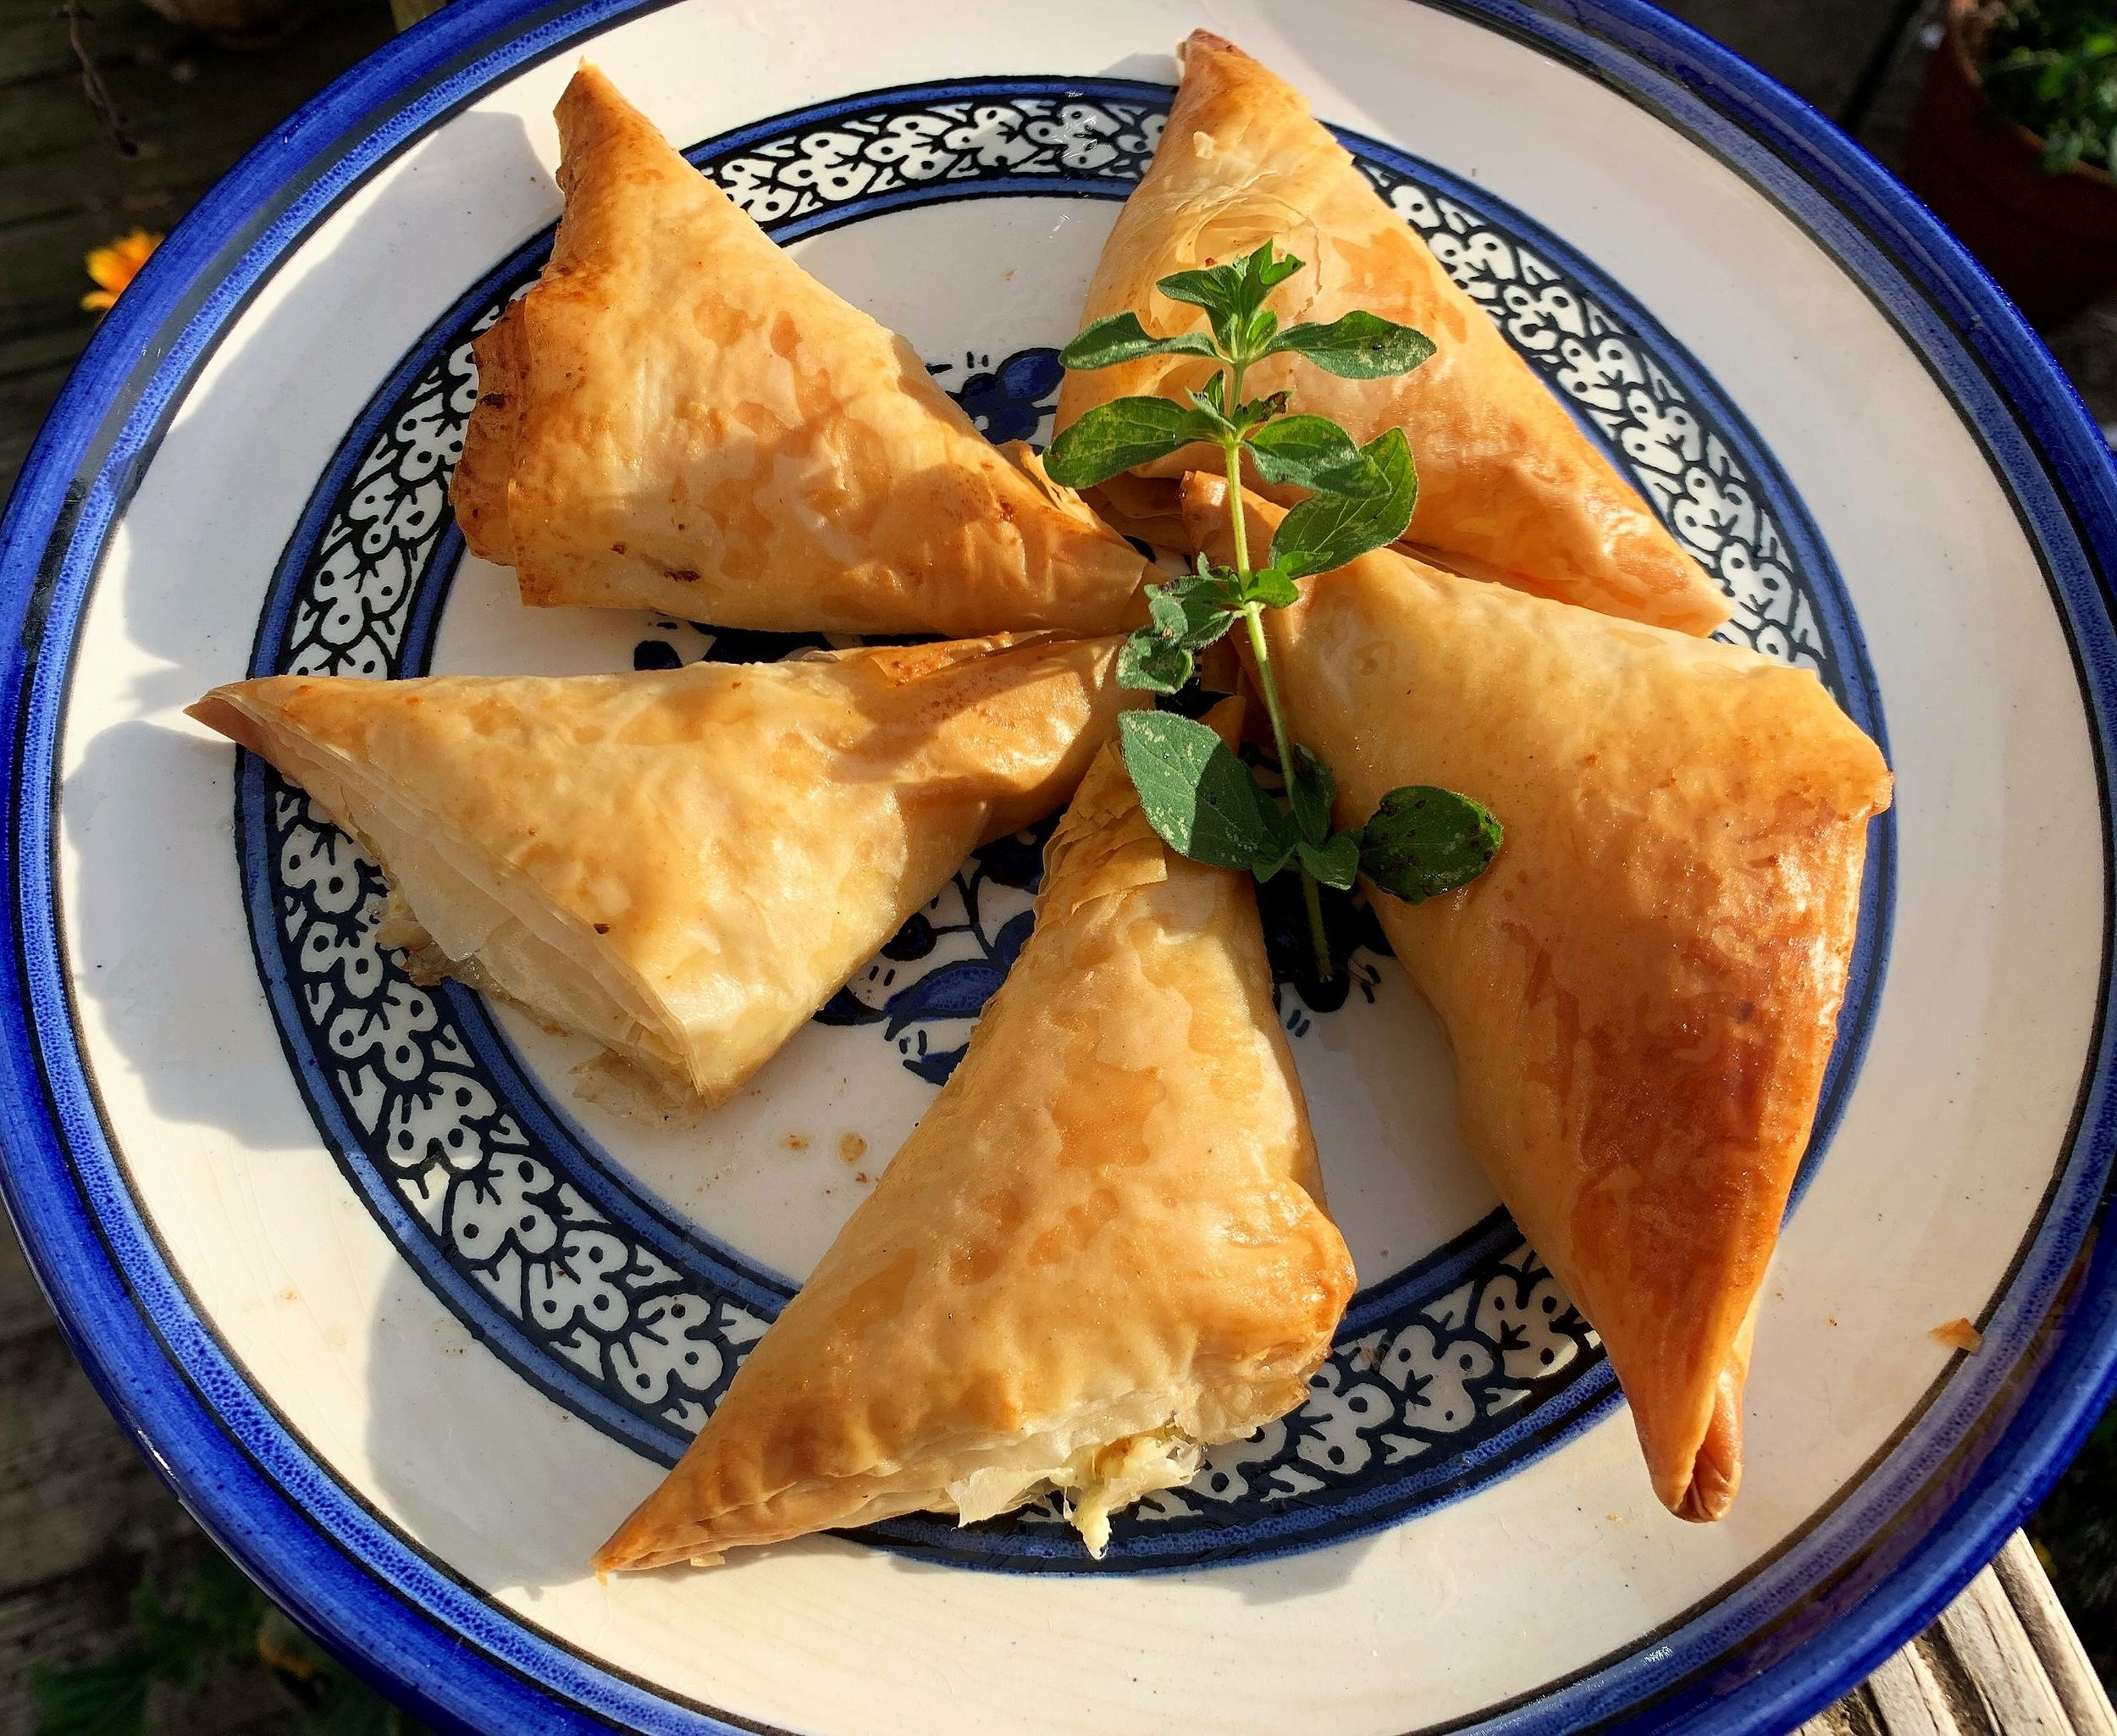
The Greeks have done it again. Enfold almost anything in filo pastry, slather with butter and bake to a flaky, golden brown. This time it’s cheeses, feta among them. Be prepared for the “Wows”!
Tiropitakia
12 sheets of phyllo pastry
8 ounces feta cheese, crumbled
4 ounces Gouda cheese, grated
4 ounces Parmesan, or Irish Regato or Greek Kefalograviera (2 oz.)
1 egg, beaten
a splash of milk
3 tablespoons full fat Greek yogurt
fresh mint or dill, chopped (optional)
¾ - 1 cup or melted butter
freshly ground pepper
½ cup melted butter
-To prepare the Tiropitakia, start by preparing the filling. Crush the feta cheese in a large bowl and add the grated cheese, the egg, a splash of milk, the yogurt and season with freshly ground pepper. Mix well with a spoon to combine the ingredients. (At this point you can add some chopped fresh herbs if you like; some fresh dill or mint will lift the flavor.)
-Preheat the oven to 375 degrees and start preparing the Tiropitakia.
-Place two sheets of the filo (phyllo) dough on a clean kitchen counter and with a pastry brush spread some melted butter or olive oil, completely covering the sheet. Place another 2 sheets together on top and spread on more butter.
-From one long side, cut the stacked sheets into four equal strips, about 3 inches wide. At the end of each strip nearest you, add one tablespoon of the filling. Fold one corner over the filling to the opposite straight edge to form a triangle and continue folding the triangle upon itself, (flag folding style) until the entire strip of phyllo is used. Fold loose ends over to keep the triangle shape. Place triangle seam side down on a buttered baking sheet and brush all exposed surfaces with melted butter. Continue with the rest of the phyllo sheets and filling.
-Bake in preheated oven at 375 degrees for 25-30 minutes, until golden and crispy and slightly puffy. Makes 12 Tiropitakia.
-Serve these delicious Greek feta cheese triangles as a great starter or on the side of a fresh Greek Salad.

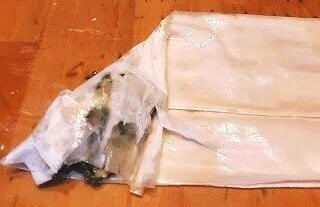
Stack 4 layers of filo pastry, brushing with butter after each. Cut into strips and place spoonful of filling at the bottom of each strip.
Fold a corner of pastry over the filling to the other edge of the strip.

Continue folding strip, flag style, to the top of the strip creating a triangle.

Lay triangles on buttered tray and brush exposed surfaces with more melted butter.

Bake until a beautiful golden color and triangles are slightly puffed.
PERSNICKETY NOTES:
**If you have never worked with filo (phyllo) pastry here are a couple of hints:
-Give yourself plenty of time to work with it -don't rush it.
-Be sure dough is completely thawed in its packaging before using. Let it sit out of the freezer at room temperature fro 2 - 3 hours to thaw.
**Originally, bakers brushed every layer with butter, which you can do, but I brush every two layers which works just as well and uses less butter.
**Sometimes the dough you purchase will be stuck in places and will not easily separate and pull off in complete sheets. Don't worry - do the best you can, flip it over and try the other side and remember, you can patch and leave holes as long as the top layer of whatever you are making is nice and smooth. Sometimes you will have to use 3 layers instead of 2 because you can't separate them - that's okay. Brushing with butter mends a host of cracks and splits.
**Filo (phyllo) pastry, which originated in Mediterranean countries, dries out very quickly when exposed to air. The only ingredients are water and flour. Be sure to keep sections of pastry you are not working with covered with a towel or plastic wrap until you can get to them. Brushing all exposed surfaces with melted butter before baking is essential to create a crunchy, flaky and buttery product.
**Can you believe that up until the invention of modern machinery filo dough was made by hand by women who laboriously stretched the dough by rolling and stretching the dough over the backs of their hands, on a large table, to paper thinness!
**When I first started working with filo pastry it was very hard to find in the U.S. and I usually had to buy it in International markets, which were also hard to find. When it finally did appear in the frozen section of most grocery stores, since it was infrequently bought, I would always pull one from the back as it would be fresher, not having sat in the freezer so long.
**To store Tiropitakia, simply cover very loosely with foil at room temperature. Do not seal in airtight containers or bags and do not store in the refrigerator as this will make the layers of dough soggy - what a shame to lose that marvelous crunch! The best way to store them is in an open pan in a cupboard where flies or over-eaters can't get to it.
**You can freeze Tiropitakia once they are assembled but before baking. Remove from freezer about 1 hour before baking and continue recipe as described above. (If frozen after baking, you loose all the crunch.)